NEWS CENTER
- Home
- About us
- Products
- DC Motor Automatic line
- Series Motor Automatic Line
- Automatic Core Punching Machine
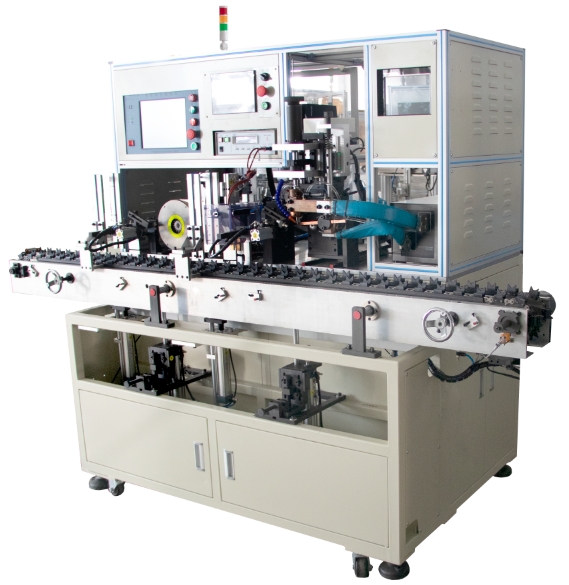
- Automatic Endplate Commutator All-In-One Machine
- Automatic Servo Groove Paper Machine
- Automatic Six-Station Winding Machine
- Manual Six-Station Winding Machine
- Manual Four-Station Winding Machine
- Automatic Servo Slotting Machine
- Automatic Double Station High Frequency Spot Welder
- Automatic Duplex Tester
- Automatic Double Knife Precision Turning Machine
- Visual Inspection Machine
- Automatic Rewinders
- Automatic Core Punching Machine
- Stator Stand-Alone Equipment
- Stator brushless equipment
- Non-Standard Equipment Spare Parts
- Motor Assembly Line
- Manual Motor Equipment
- DC Motor Automatic line
- Application
- Service
- News
- Contact us

- Home
- About us
- Products
- DC Motor Automatic line
- Series Motor Automatic Line
- Automatic Core Punching Machine
- Automatic Endplate Commutator All-In-One Machine
- Automatic Servo Groove Paper Machine
- Automatic Six-Station Winding Machine
- Manual Six-Station Winding Machine
- Manual Four-Station Winding Machine
- Automatic Servo Slotting Machine
- Automatic Double Station High Frequency Spot Welder
- Automatic Duplex Tester
- Automatic Double Knife Precision Turning Machine
- Visual Inspection Machine
- Automatic Rewinders
- Stator Stand-Alone Equipment
- Stator brushless equipment
- Non-Standard Equipment Spare Parts
- Motor Assembly Line
- Manual Motor Equipment
- Application
- Service
- News
- Contact us